Sign up. Get $50 instantly & Access Humanoid Wakeboard's Live Streams, Content & Events.
Related Posts

Want a wakeboard sponsorship? Here’s what you need to know.
Wakeboard sponsorship has changed…

Everything after wakeboarding. A guide for Surf Expo Orlando [The Best Orlando Golf Courses]
Everything to do after wakeboarding.…
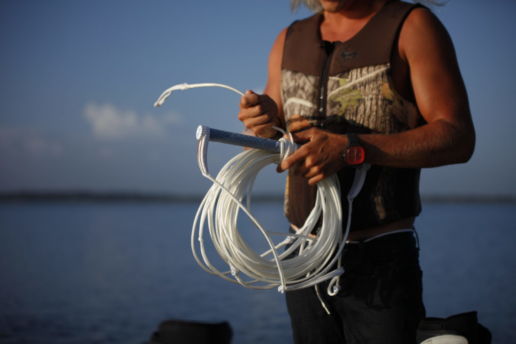
Adjusting your wakeboard rope is the best kept secret to crush your trick list.
The progression of learning and landing…
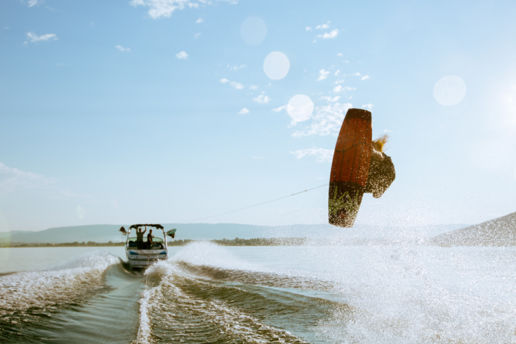
The Top 8 Wakeboard Boats Of All Time
After driving or riding behind most…

Using Creative Brand Collabs To Grow Your Business [Finding Inspiration In Street Art]
How did skateboarding start at the top…
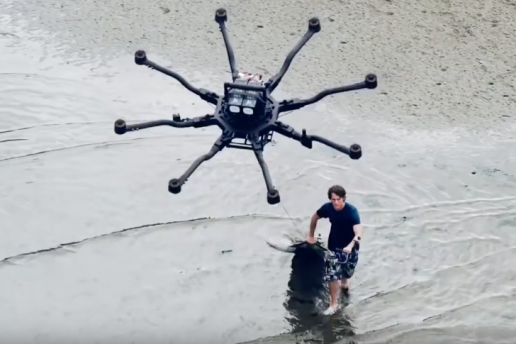
Wakesurfing on a budget: Ever tried ‘Dronesurfing’?
With cable systems helping wakeboarding…
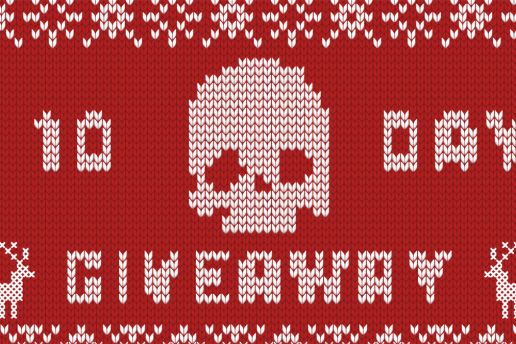
Humanoid Holiday Wakeboard Giveaway Contests
The 10 Day Holiday Giveaway Is Live.…
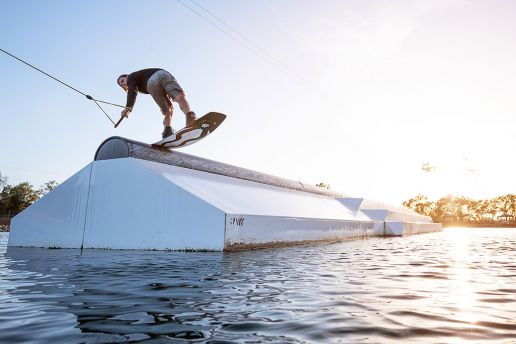
Top 10 Recommended Lines On Kaesen Suyerhoud’s Unit Wakeboard Feature
Instead of releasing a 'run of the…
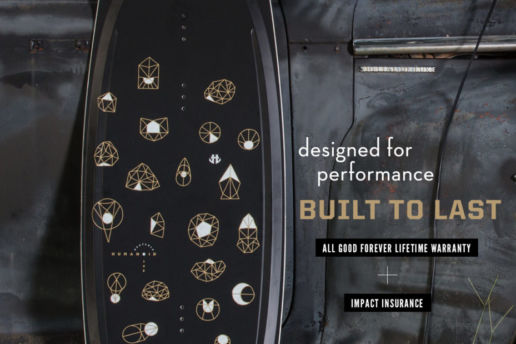
Humanoid Wakeboards Warranty: All Good Forever Lifetime & Impact Insurance
From Day 1 we've experimented with…

15 Of The Best Wakeboard Tools We Use On The Regular
For the upcoming season we are going to…